
Normally, I collage the background and scenery first. Then add the characters.
Here I began by drawing the entire scene onto tracing paper. Then I traced my lines with marker (I used orange, but it doesn't matter.)
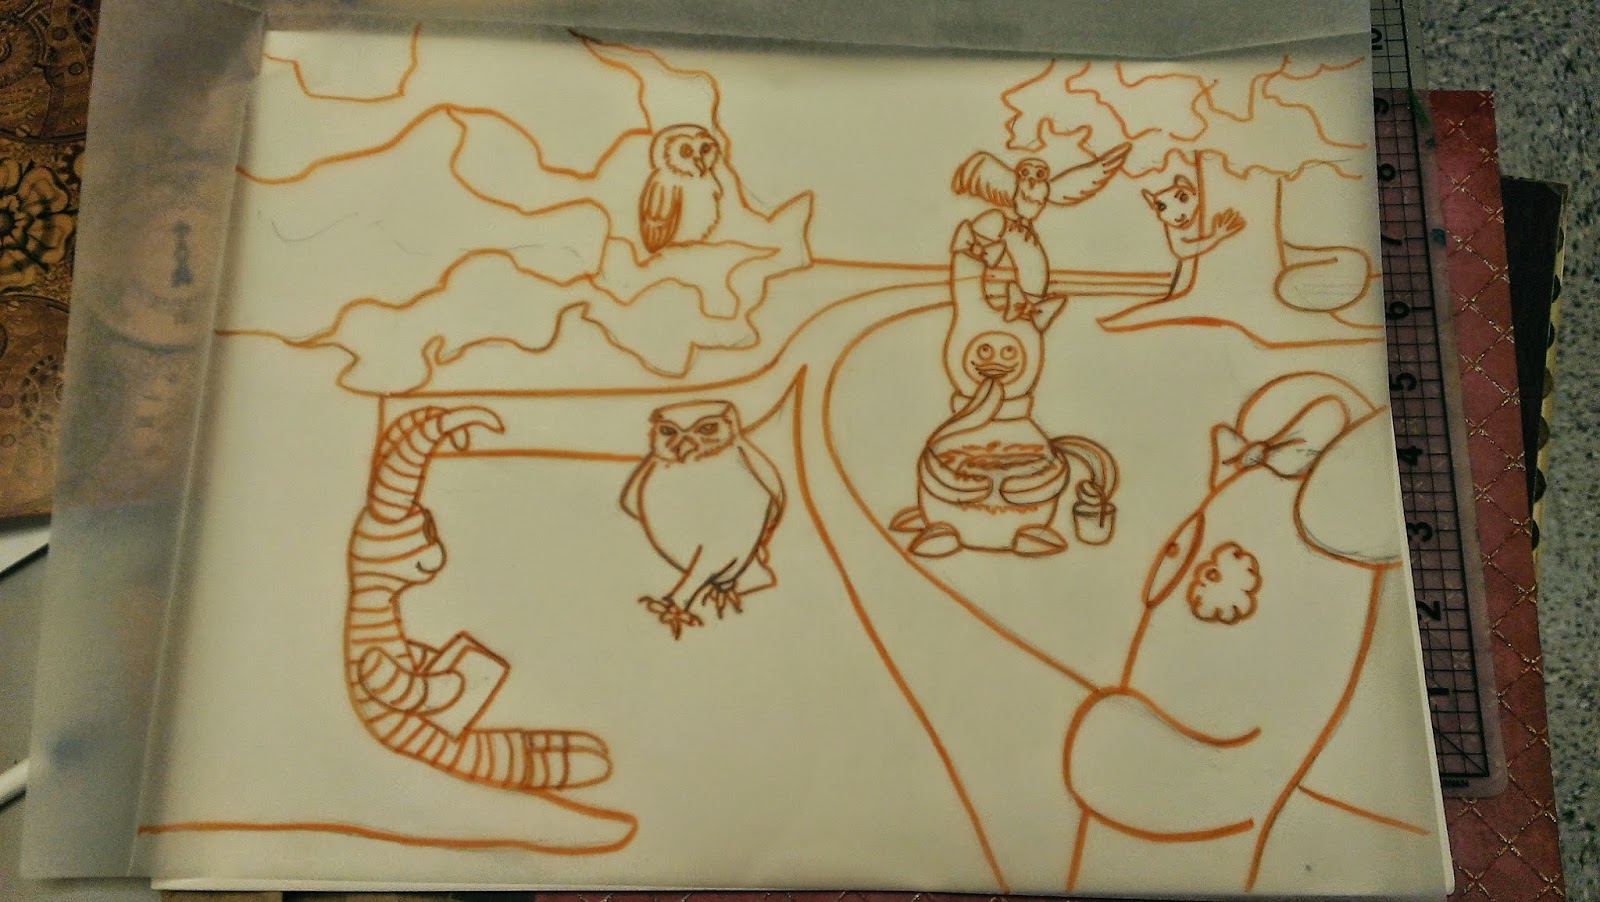
Then I used graphite to cover the marker lines on the back of the tracing paper. I did this so I could transfer parts of my drawing to the scrapbooking papers.

I began by working from the background to the foreground, which is my sky and ground. The scrapbooking paper comes in 12x12, so when working on larger paper you need to be careful about where you place the line created by two pieces of paper. I tell my students not to put it in the center, but to put it off towards the side and to try to place it where other parts of your art work will cover it. In this case, I will have a tree and Larry mizzle covering most of the line.

Then I added the road. Even though my characters are covering parts of the road in my drawing, I cut it out of the paper whole. This adds to creating depth with the natural layering of the paper.

When collaging, you have to be careful about the colors and textures you choose. I had a few choices that I liked for the bark of the trees.
 |
| option 1: a wood textured paper with a light and dark green |
 |
| Option 2: a lighter version of the ground |
 |
| Option 4: a greenish brown |
 |
| Option 3: cream colored texture |
I really liked option 3 because later I will be adding shadows and details with watercolor. I felt if I went with a darker paper, the trees might be too dark for the painting.
I traced the drawing over the chosen papers and began cutting them out. Here are photos of the trees and characters drawn and then cut out.


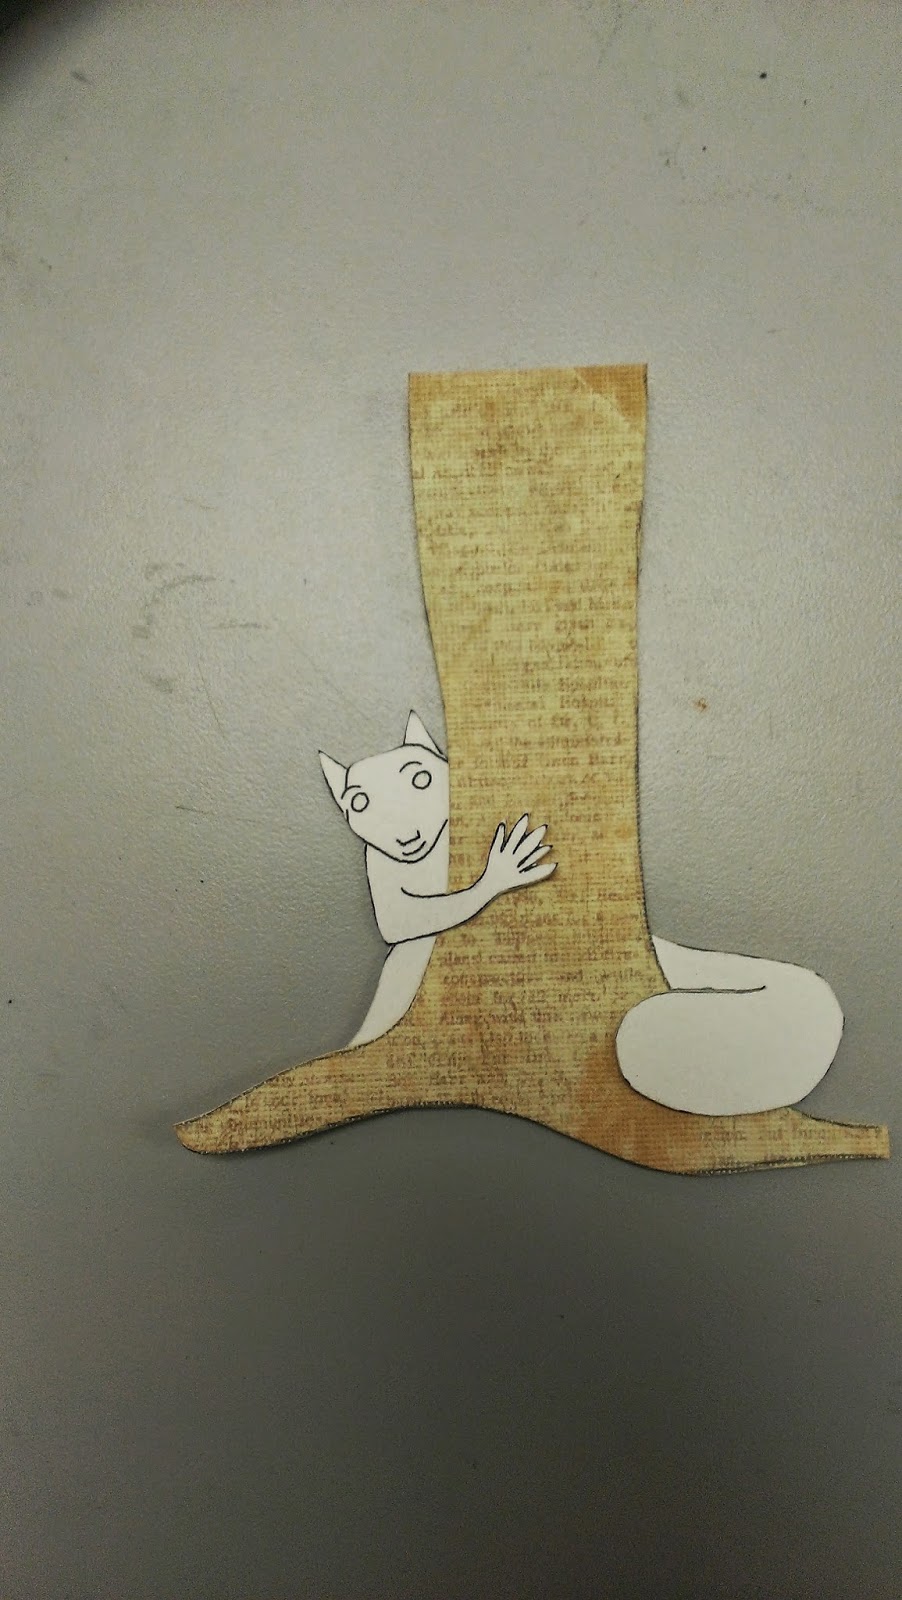
The squirrel is drawn behind the tree, so I drew it whole and cut it out. I cut slits on the sides of the arm and tail so it could snuggly wrap around the tree.
Normally when I glue the pieces together I use a heavy book to apply pressure and bond the papers together.

But at my painting demo, I used a brayer to flatten and apply pressure to each individual piece.

Once all of the pieces are glued down, then I begin painting with watercolor.

I didn't get to finish the painting at the painting demo, but I've been working on it this week. It's almost done.

Here are some photos Orange County Creatives took of my painting demo at the gallery last Sunday. Life-size Larry came with me. My best friend, Lydia, made him his wonderful bathing suit!


No comments:
Post a Comment